

1. Install and initialize
Inside the Next.js app project:init creates stacknext.config.json and an instrumentation.ts or
instrumentation.js file when they do not exist. It never overwrites an
existing instrumentation file. See installation for the manual
patch, other package managers and monorepo details.
2. Optional: configure your AI coding agent
AGENTS.md.
Existing instructions are preserved. The block points agents at the local
documentation shipped with the installed packages. See
AI agent setup.
3. Start the collector and app
dev starts the collector, runs the project’s dev script, and writes
.stacknext/run.json with a short-lived bearer token. Open the printed
dashboard URL, usually http://127.0.0.1:4400, and make a request to the app.
The collector binds to loopback, so the dashboard is reachable from your machine
and nowhere else. The in-memory sample stays empty until the app handles a
request.
4. Verify
not-observed and unknown are valid evidence states, not
errors.
5. Inspect the sample
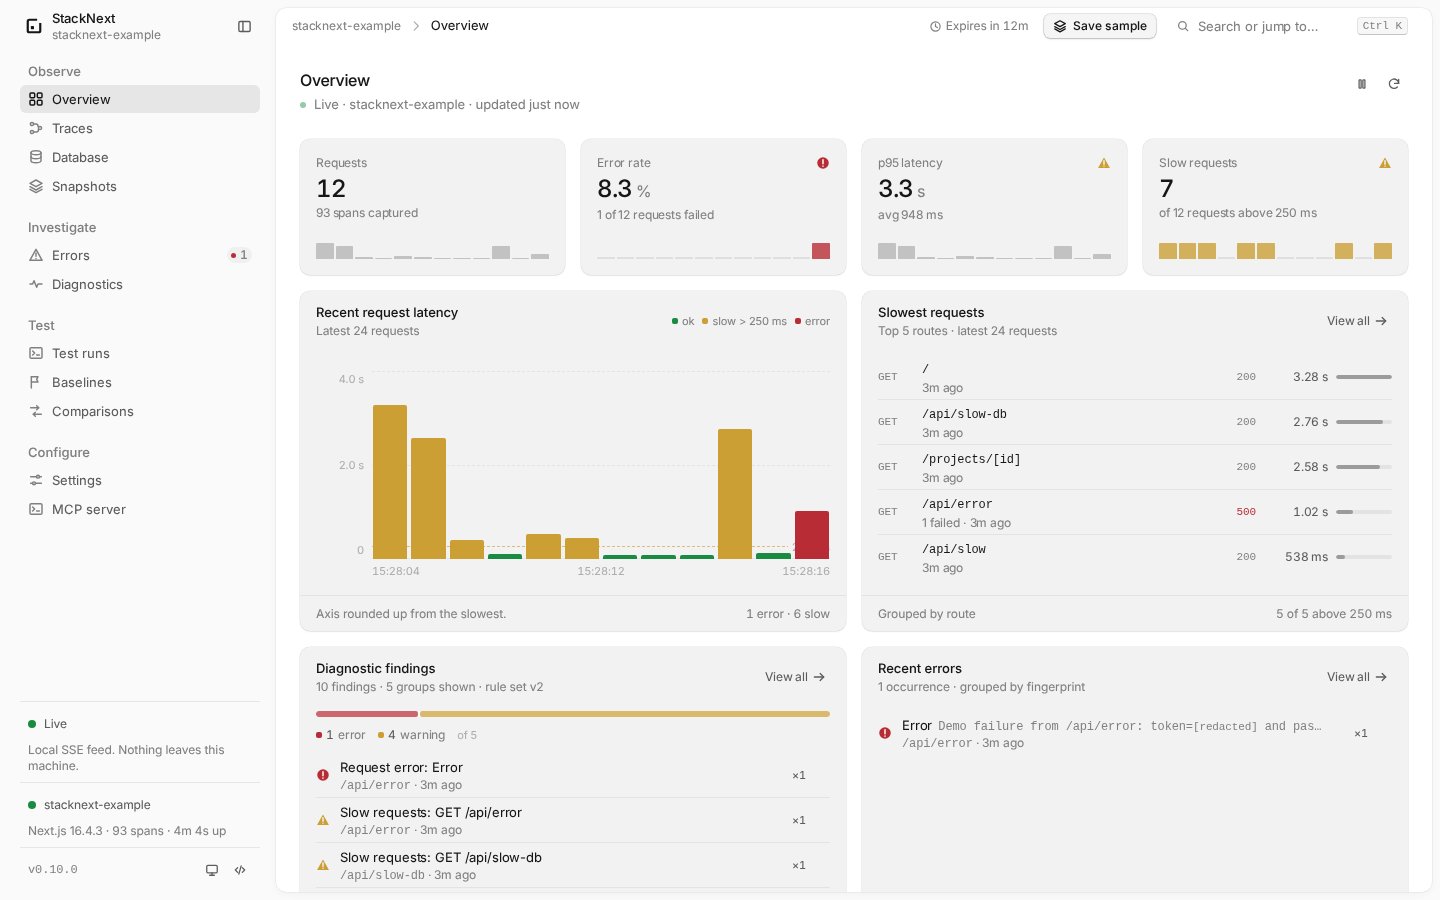
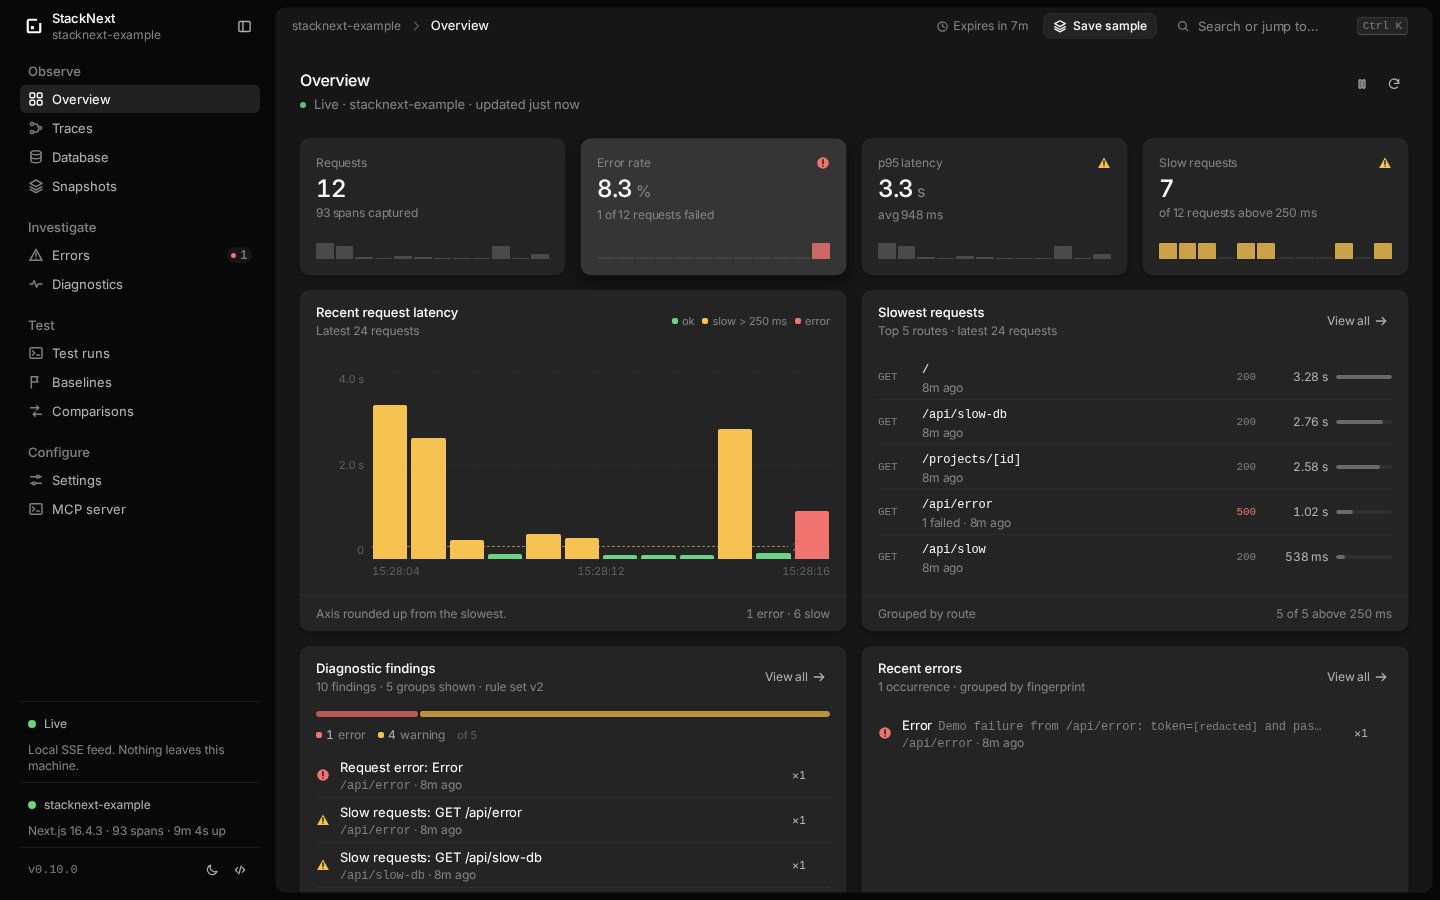
- Requests and Traces show route, status, duration and span timelines.
- Database shows query events; Drizzle durations are
null. - Errors shows redacted errors and any correlated trace.
- Diagnostics shows deterministic findings. Read the evidence and limitations before changing code.
- Snapshots lets you freeze the current sample.
- Runs, Baselines and Comparisons hold Playwright-linked regression evidence.